Your Guide to Fixing the 405 Method Not Allowed Error
Funny enough, HTTP error codes are both really useful and incredibly frustrating at the same time.
Seeing an error when you load a page makes it very clear that something has gone wrong with the website — But most of us haven’t got the faintest clue about what “405 Method Not Allowed” means, let alone how to fix it.
That’s why we wrote this handy-dandy guide! A 405 error isn’t any reason to panic; there are just a few steps to restore your website back to working order.
Over the next few pages, we will explain what this error is all about and show you how to make it disappear.
What Is the 405 Method Not Allowed Error?
The 405 error is a type of HTTP status code — This means it’s a message that a server sends to your web browser, explaining why it can’t deliver the content you asked for.
Server
A server is a computer that stores data. A web server is a type of server that stores and delivers web pages to users. Web servers are connected to the internet and use HTTP to send web pages to users who request them.
Read MoreA persistent 405 status code is a problem for anyone running a website. If multiple users see the same error, that means there’s something misconfigured on your website.
Until you fix the problem, visitors won’t be able to access the page where the error code is displayed.
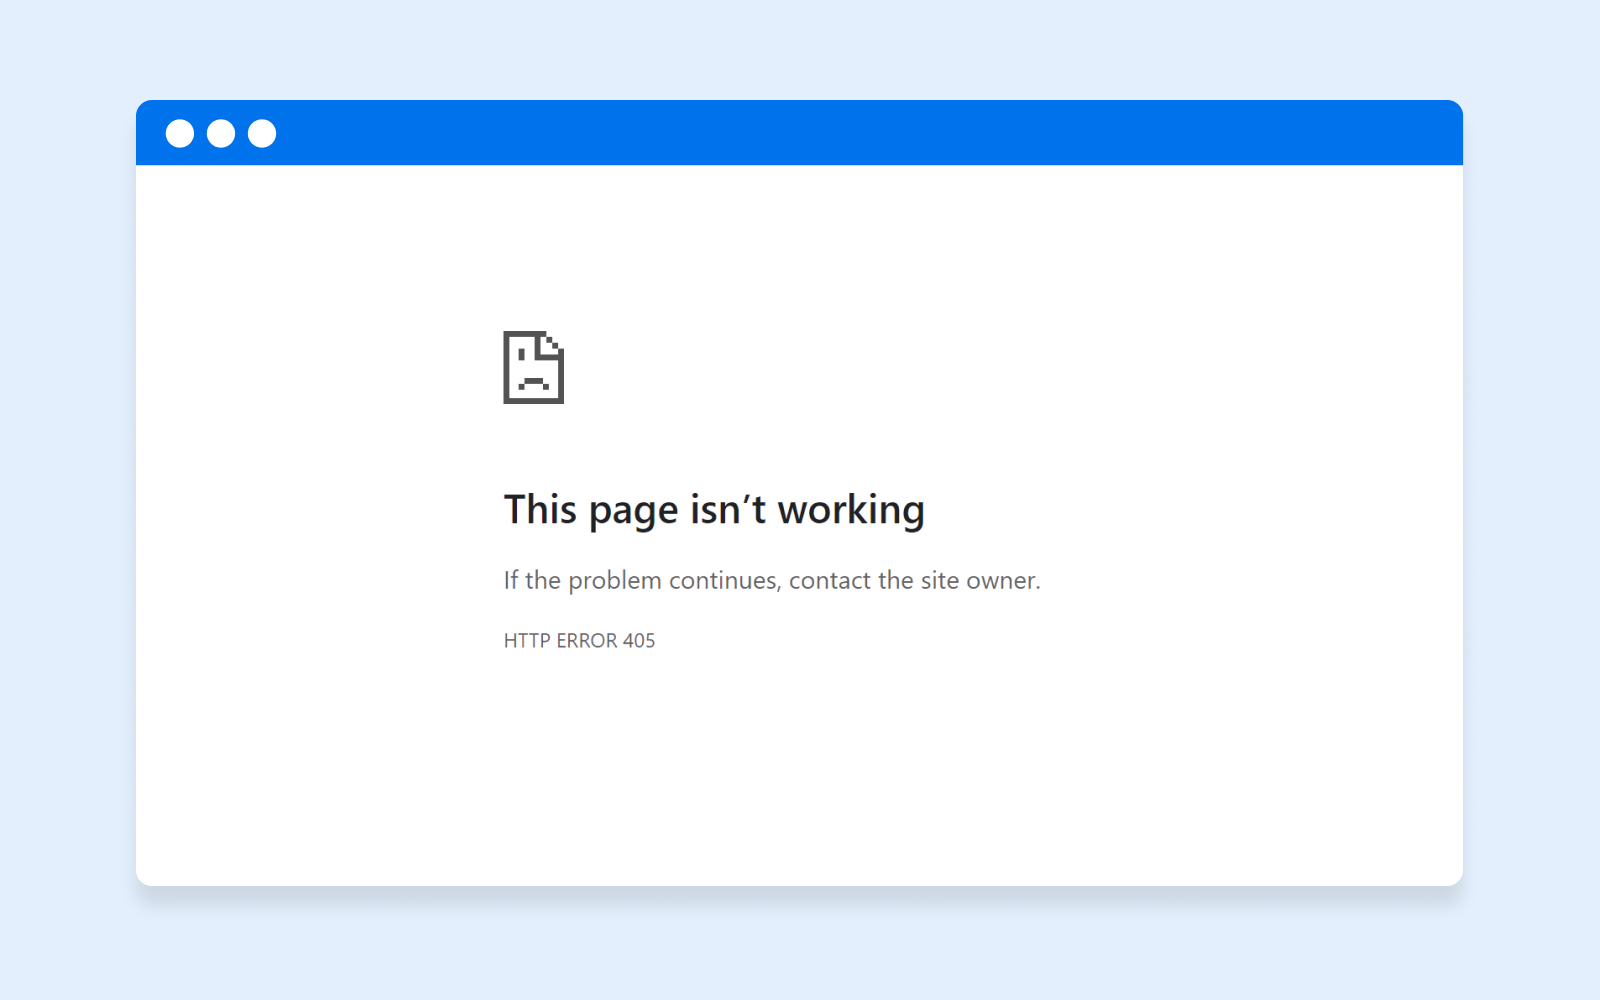
This error code may appear as:
- 405 Method Not Allowed
- 405 Not Allowed
- Method Not Allowed
- HTTP 405 Error
- HTTP Error 405 – Method Not Allowed
- HTTP 405 Method Not Allowed
What Causes the 405 Error?
Let’s get a bit more technical.
Whenever you try to visit a specific web page, your browser asks the hosting server to send over the content. Typically, the server sees this request and shoots the page straight to your device in a fraction of a second. Success!
This whole process is regulated by HTTP, or Hypertext Transfer Protocol. This protocol uses a series of status codes to track progress and problems.
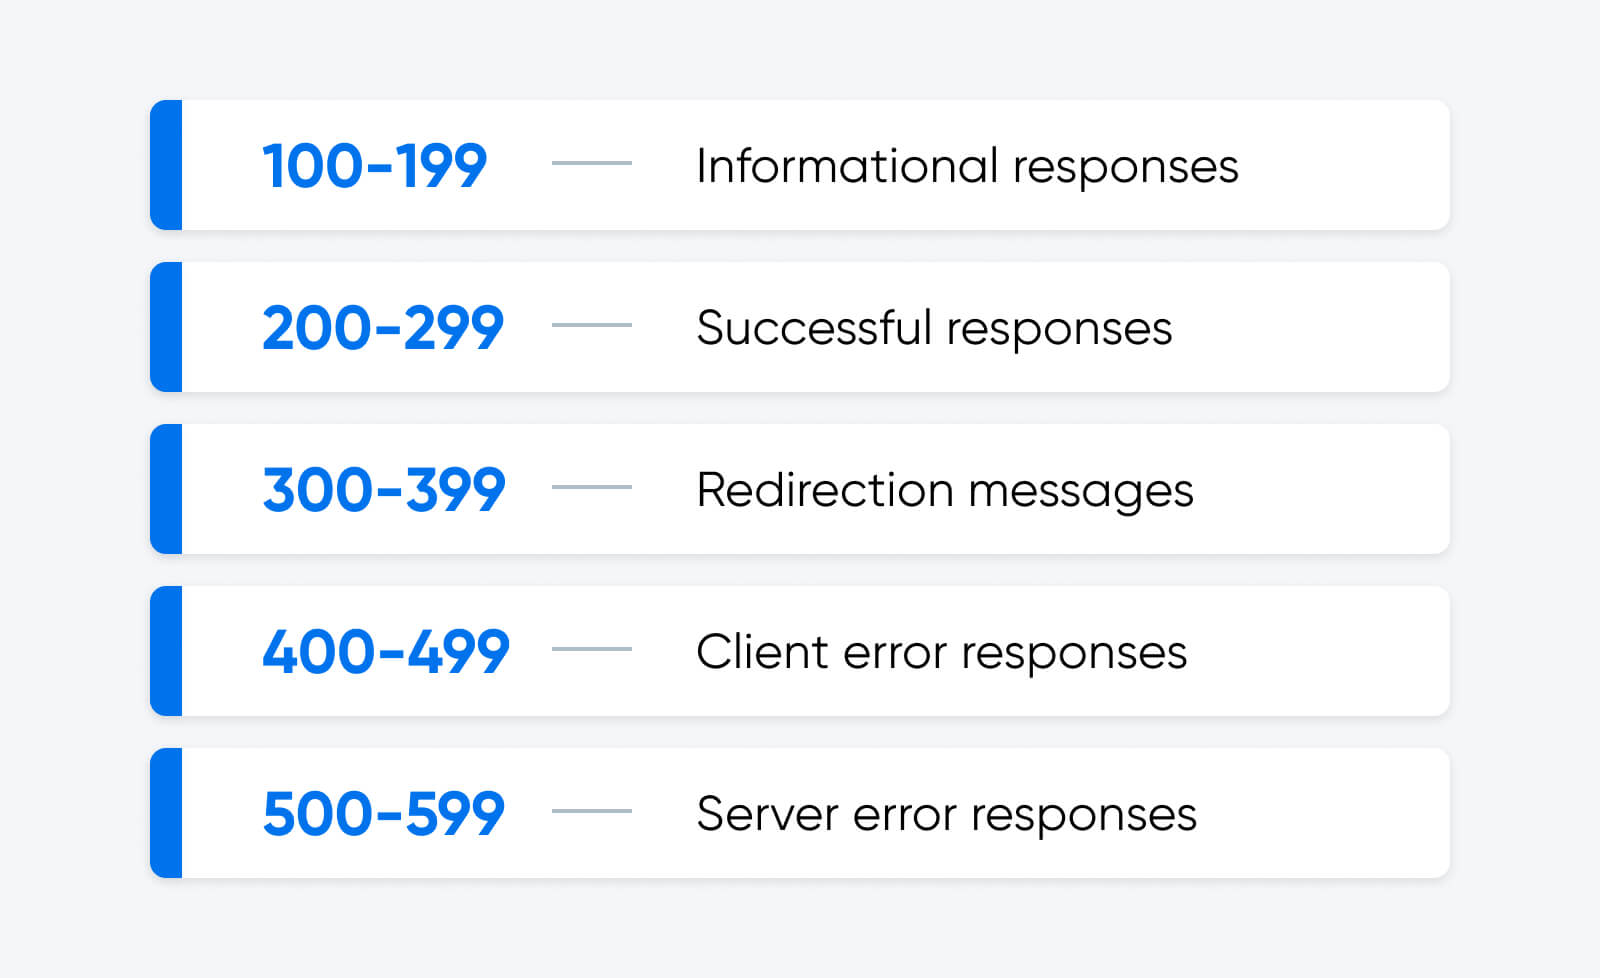
Codes in the 400s relate to client-side errors. And the 405 Method Not Allowed error code means that your browser has sent an HTTP request (GET, POST, PUT, etc.) that isn’t allowed for that specific resource, or URL.
In many cases, this is triggered by something the user does. The most common cause is inputting the wrong URL.
However, the 405 error code can also appear when something has gone wrong with the configuration of your website. We will explore some of those issues later.
What Is the Difference Between 404 and 405 Errors?
Both 404 and 405 errors prevent users from accessing content on your website, but they relate to different problems.
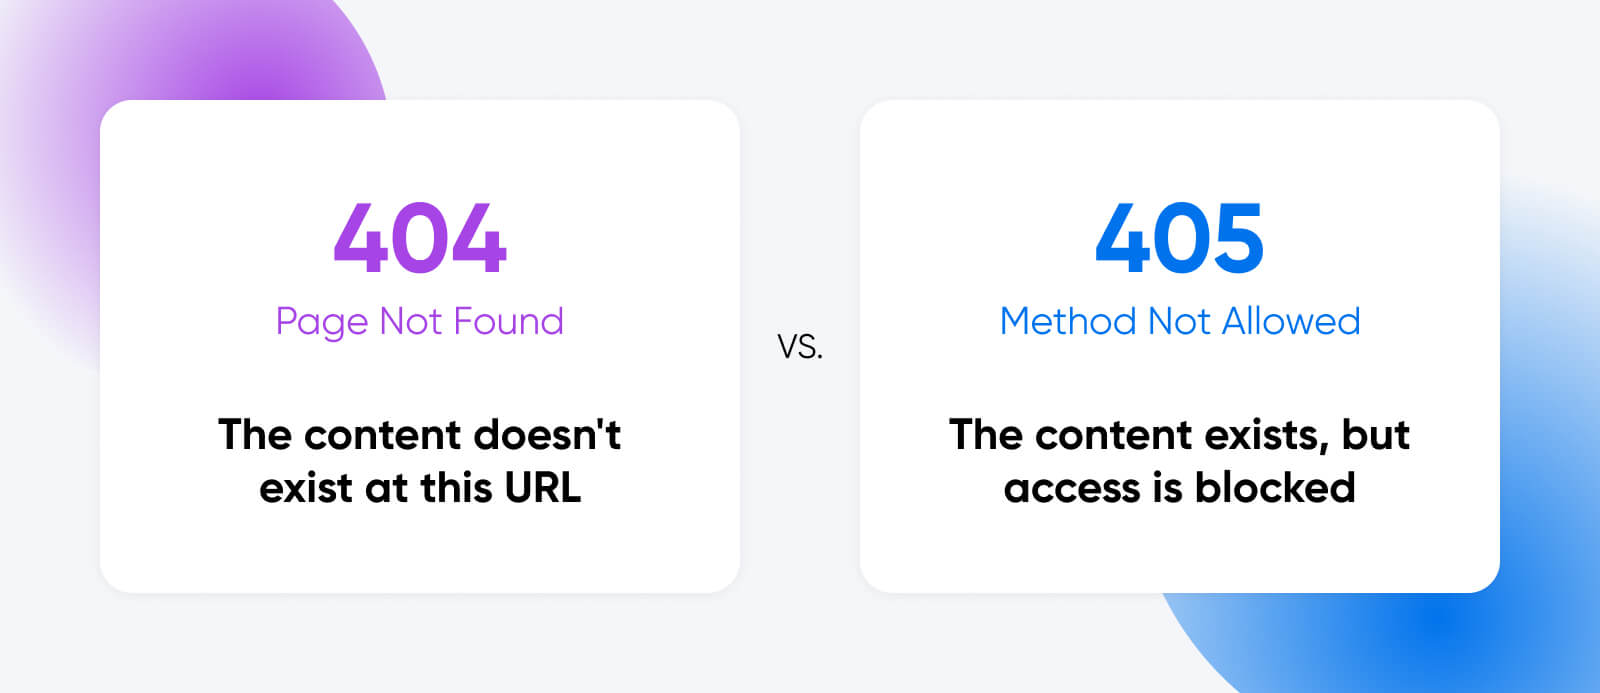
The 404 error code shows up when someone visits a URL where no context exists. For example, this sometimes happens when pages are removed, or domains are changed.
In contrast, the 405 error means that your server is rejecting an HTTP request from a browser. The content is there, but the server refuses to provide access because the request was made in the wrong format.
How to Fix the 405 Method Not Allowed Error
Understanding what causes the 405 error is an important step in solving the issue.
However, this status code doesn’t tell us exactly what’s wrong. The only way to identify the precise problem is by troubleshooting.
Ready to get started? Here’s a checklist of potential fixes:
1) Check Your Links
When you spot a 405 error in the wild, there’s a strong chance that you simply visited the wrong page.
For security reasons, web servers are typically configured to accept only specific types of requests on each URL. If you visit a page that is not open access, you may end up seeing the 405 error message.
If visitors to your site consistently see 405 error codes, it might be because they are following a bad link.
One way to prevent this is by checking your site using the Dead Link Checker or a similar free tool. And make sure that none of your social links and landing pages point towards private pages.

2) Check Your Updates
Have you updated your content management system, your theme, or even a plugin recently? That might be why you’re suddenly seeing 405 Method Not Allowed error messages.
Updates are essential for maintaining good website security. They can also fix existing bugs, and give you access to new features. But just occasionally, fresh updates introduce new gremlins.
If you’re unsure if you’re due for an update, log into your admin account and navigate to Dashboard > Updates page. Here, you’ll see a timestamp of the last time WordPress checked for updates. If need be, you can click “Check again” to manually check for updates.
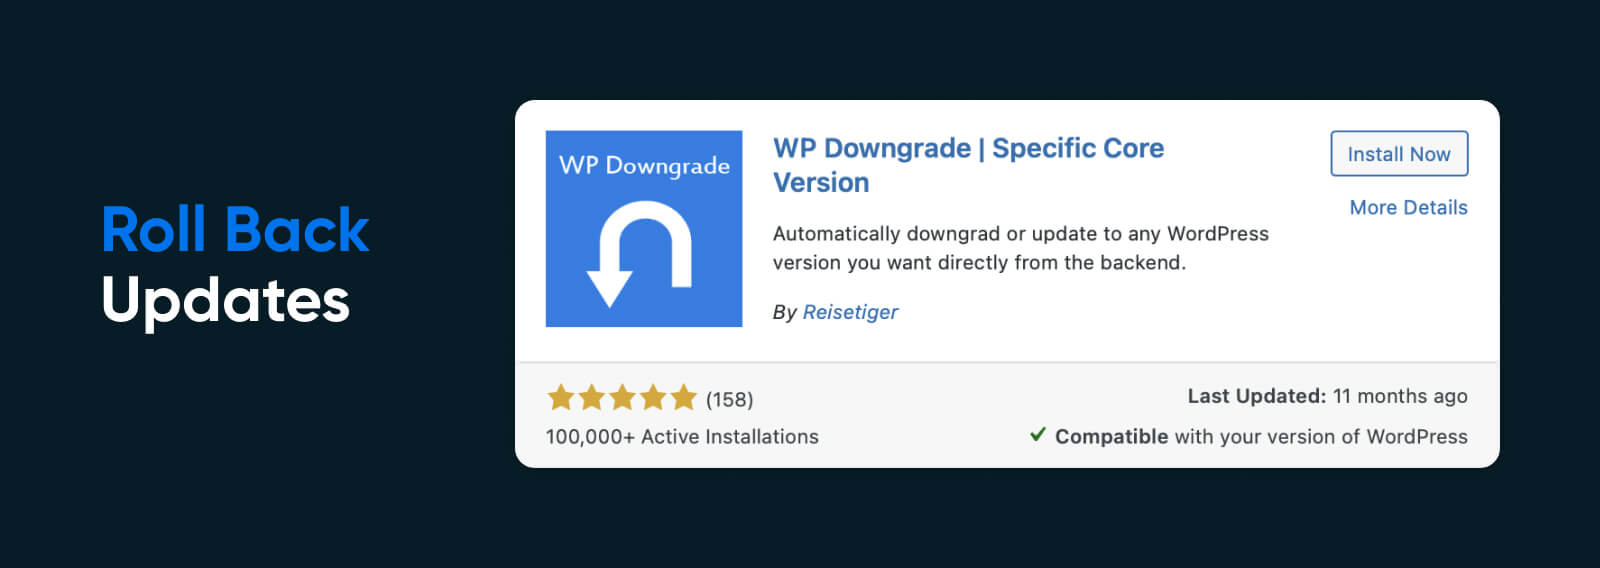
Unfortunately, sometimes an update might break your website. To fix this, you can simply roll back to the previous version of the system, theme, or plugin that might be causing problems.
The exact process here depends on what you need to downgrade. For instance, WordPress users can use the WP Downgrade plugin to revert to a previous version.
For some websites, the easiest route is simply to restore your entire site from a backup — see step 10 for more.
How to Downgrade WordPress Plugins and Themes
If you believe that a specific theme or plugin is causing the problem, we recommend using the WP Rollback plugin. Once activated, this gives you the option to downgrade any plugin or theme you have installed.
Simply open up Plugins > Installed Plugins or Appearance > Themes inside your WordPress Admin area, and you will see a little “Rollback” button under each plugin or theme.
Click this, and WP Rollback will allow you to choose the exact version you want to restore.
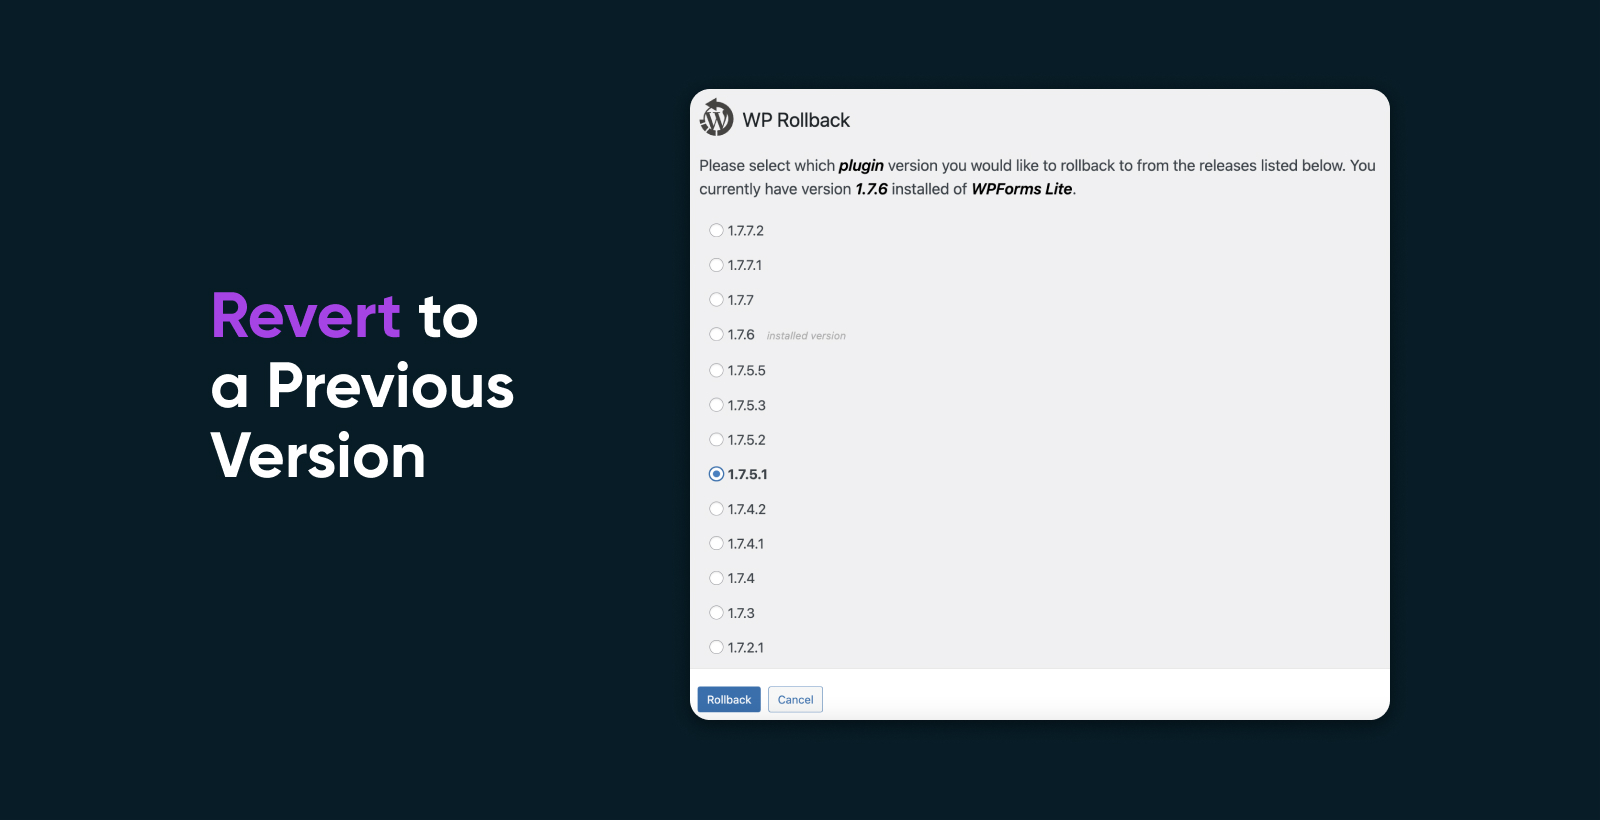
Once the downgrade is complete, make sure to hit Activate on the plugin or theme to put the old version into action.
3) Uninstall New Plugins, Modules, and Themes
Just as updates to existing plugins and themes can mess things up, so can brand new additions to your site.
With this in mind, it’s worth deactivating new plugins, modules, and themes if you start seeing 405 Method Not Allowed errors on your site.
Once again, the process here will depend on the content management system you are using.
In WordPress, you can do this through the Admin area. Navigate to Plugins or Appearance > Themes, and you should see a little red Deactivate button next to every plugin and theme.
Not sure which plugin is causing the problem? You can disable all your plugins within a minute via FTP or SSH:
- In your FTP/SSH client, head to your WordPress site directory
- Navigate to wp-content and right-click on plugins
- Select Rename
- Change the name of the folder to /plugins_OFF
This will immediately cut off all plugins. When you want to reverse the process, simply follow the steps again and rename the folder as plugins.
If you want to delete themes through FTP/SSH:
- Visit your site directory
- Navigate to wp-content/themes directory.
- Delete the folder of the theme you want to remove
Just bear in mind that you might want to keep a backup of this folder, just in case the theme is not to blame.
4) Restore Your Database
Plugins and themes usually need at least some access to your database to perform their duties.
Sometimes they get a little unruly and start making changes to parts of the database that are none of their business. These changes can cause 405 errors.
Database
A database is a collection of information accessible to computers. Databases are used to store information such as customer records, product catalogs, and financial transactions.
Read MoreEven if you remove the offending plugin or theme, the changes they made will remain. There are only two ways to fix these issues:
- Look through your database logs for problematic changes
- Restore a previous version of your database
Database Logs
To access the database logs for your website, head to the control panel of your hosting provider. Usually, you will only be able to access logs if you have a private server.
For databases hosted with DreamHost, head to MySQL Databases to find the name of your MySQL Databases, and then get in touch with technical support to get access.
If you know exactly when the 405 errors started appearing, you may be able to find the offending database change by sorting the logs by time. You’re looking for “INSERT”, “UPDATE”, or “DELETE” changes.
Just be aware that you need a strong knowledge of web development to identify potential problems here. If you’re not sure what you’re looking at, avoid making modifications and consult a professional.
Restore Your Database
If you don’t have developer-level skills, restoring your database to a previous version is probably a more realistic option.
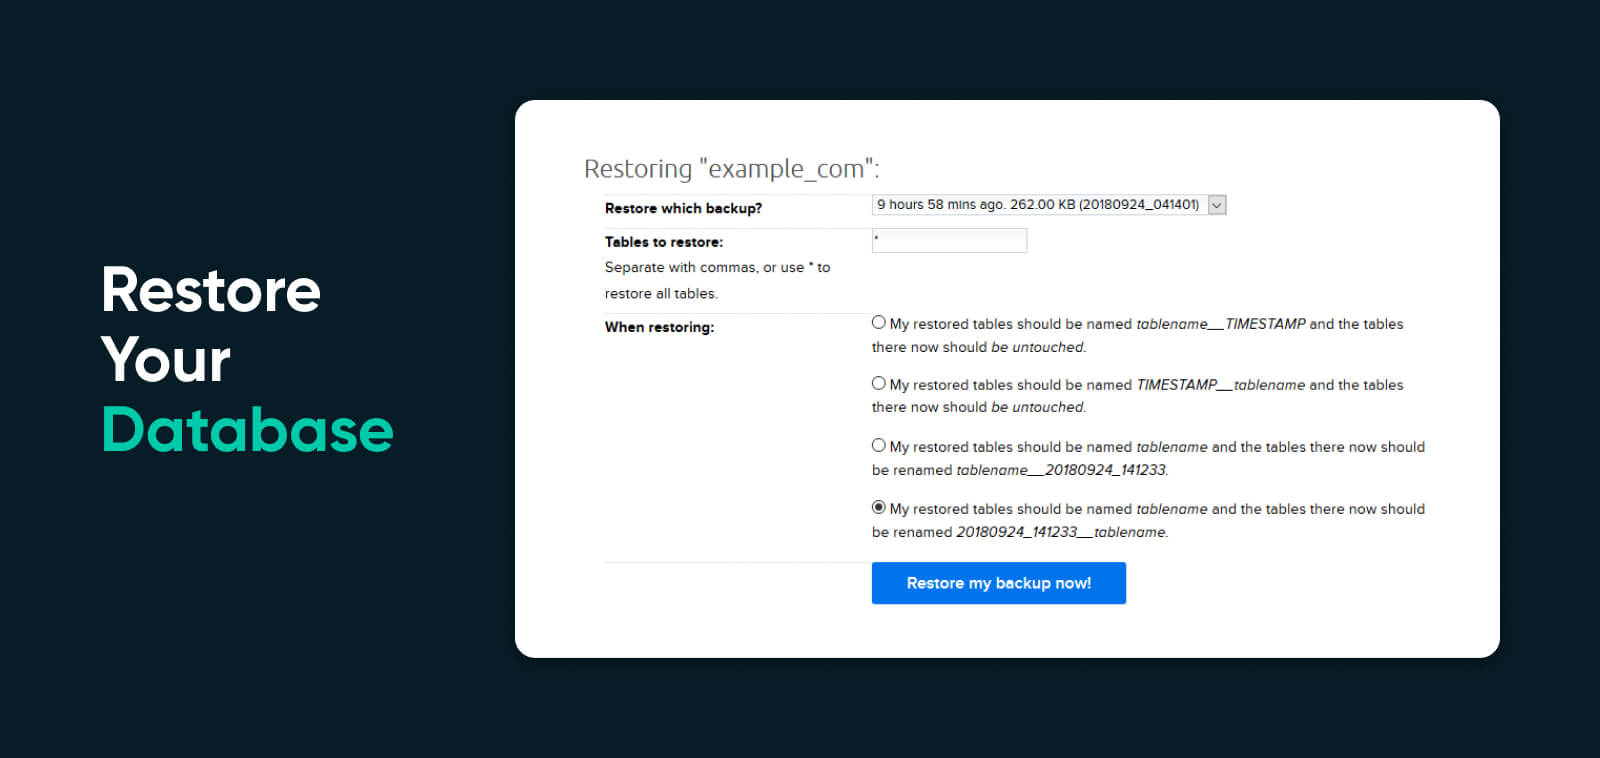
As with site data, DreamHost automatically creates a backup of your database every day. To restore one of these backups:
- Visit the MySQL Databases page in your account
- Click the Restore DB button to the right of your database
- Choose the time of the backup you want to restore
- Under When restoring, select option 3 or 4 depending on your CMS; choose option 4 for WordPress
5) Read Your Server-Side Logs
Just as your database logs can reveal problems that will lead to 405 errors, we can also find clues in the server-side logs.
The files we’re looking for here are named error.log and access.log. With DreamHost, you can view them via SFTP (Secure File Transfer Protocol):
- In your FTP client, visit the /logs directory in your user folder
- Open the site you want to check
- Open the most recent directory with a name that starts with http
- Open the log file inside, using your preferred text editor
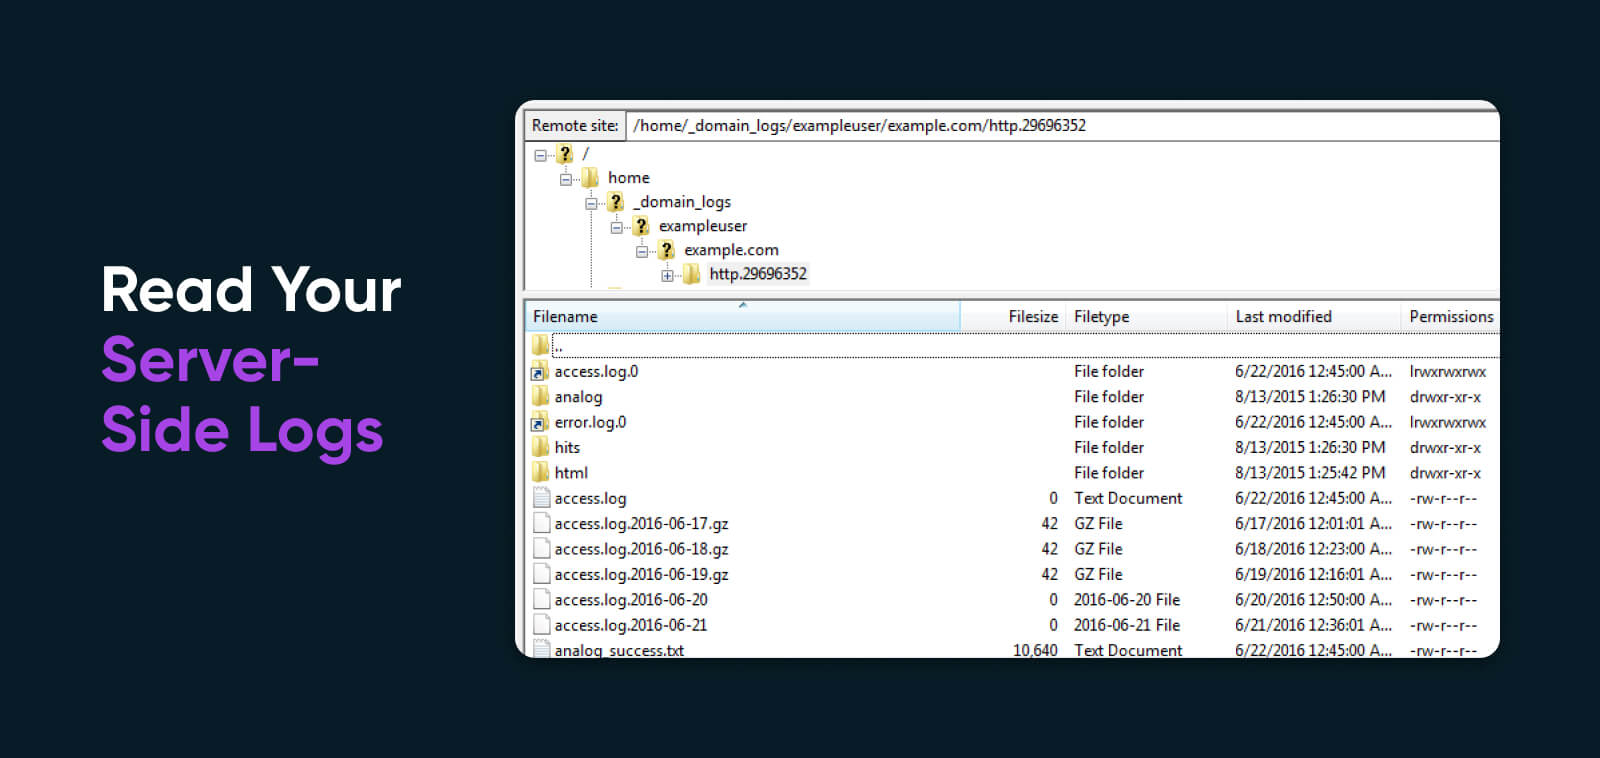
When you examine the files, check for errors relating to server configuration or changes to your web application code.
6) Confirm Your Web Server Configuration
As we mentioned earlier, the 405 Method Not Allowed error occurs when a web server rejects a request.
Most of the time, this is helpful. If your server did not block certain request methods, your site could easily be overwhelmed with unwanted attention.
But just like an over-aggressive club doorman, sometimes web servers block the wrong kind of requests, or wrongly restrict access to certain content. This is usually caused by incorrect server configuration. The result is that visitors are redirected to an error page.
To figure out whether this is the problem with your site, you will need to visit your server configuration file. The exact file name will depend on whether your web server software is Apache, Nginx, or Cloudflare.
We use Apache by default at DreamHost, so you’re looking for the .htaccess file in the root directory of your site. On VPS plans, you have the option to switch to Nginx hosting; in this case, your configuration file will be nginx.conf.
After finding the relevant file, open it with your preferred text editor. Next, search for Rewrite commands. These are associated with Apache’s mod_rewrite module.
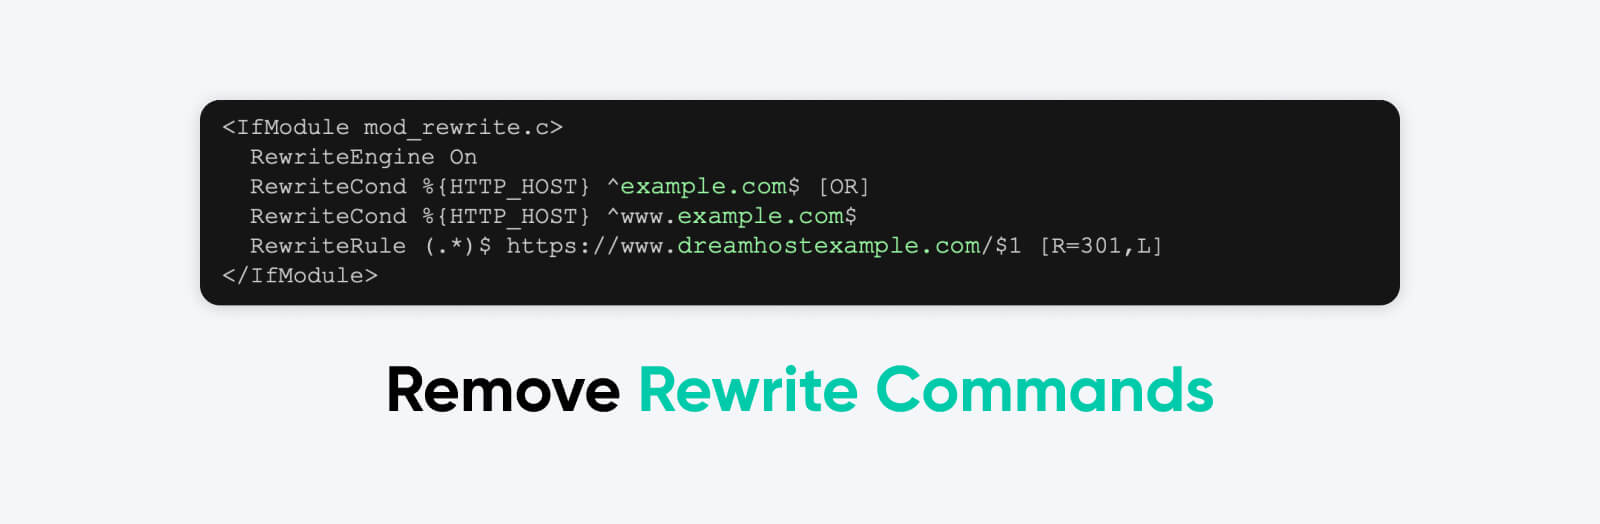
This module allows you to modify URLs that are requested by users, before they are processed by your server. This can be useful when you want to redirect users to a different page, divert certain types of traffic, or just display a more user-friendly URL.
The problems usually involve commands like this in your configuration file:
RewriteRule ^(.*)$ http: //example.com [R=405, L]This makes the server return a 405 HTTP response status code when someone visits the URL mentioned in the command.
If you’re struggling with persistent errors, try commenting out such commands in your config file. You can do this by adding a # at the start of the line you wish to comment out.
Alternatively, you can change the directive from RewriteEngine ON to RewriteEngine OFF.
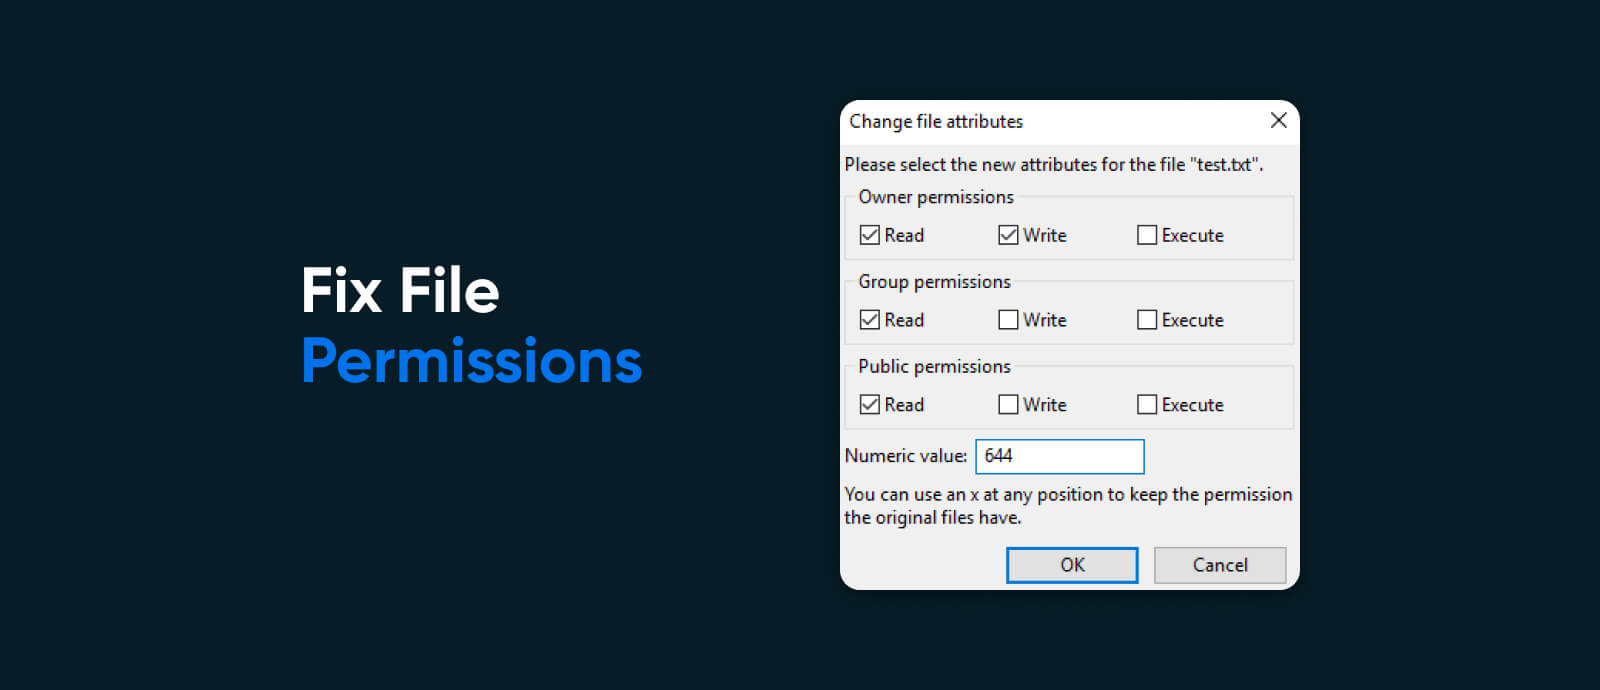
7) Fix File Permissions
Another reason why a server might be blocking access to certain content is because your site permissions are misconfigured.
For instance, your server may allow an admin to use a specific HTTP method. But when a general site visitor tries the same request, they are blocked and handed an error code.
The fastest way to check and manage permissions is usually through your panel. DreamHost users can utilize the built-in file manager:
- Visit Manage Websites and tap the Manage button
- Open the directory for your website
- To view permissions, right click on any file and choose CHMOD
You may just discover that one of your important files does not have public read access.
If you’re running your own private server or VPS, it’s also worth checking the configuration settings. Your server might be set up to accept only certain HTTP request methods for specific file types.
8) Debug Your Code
Ultimately, the cause of your 405 errors might be that something is wrong with the code of your website or web app.
To diagnose such problems, you will need to follow a full debugging process. This usually involves creating a complete local copy of your website, and then trying to recreate the error. Alternatively, you can use an online development environment.
The exact process you will need to follow is dependent on the CMS, scripts, and programming languages you’re using. If your site runs on WordPress and you are confident in the command line, you could try using WP-CLI.
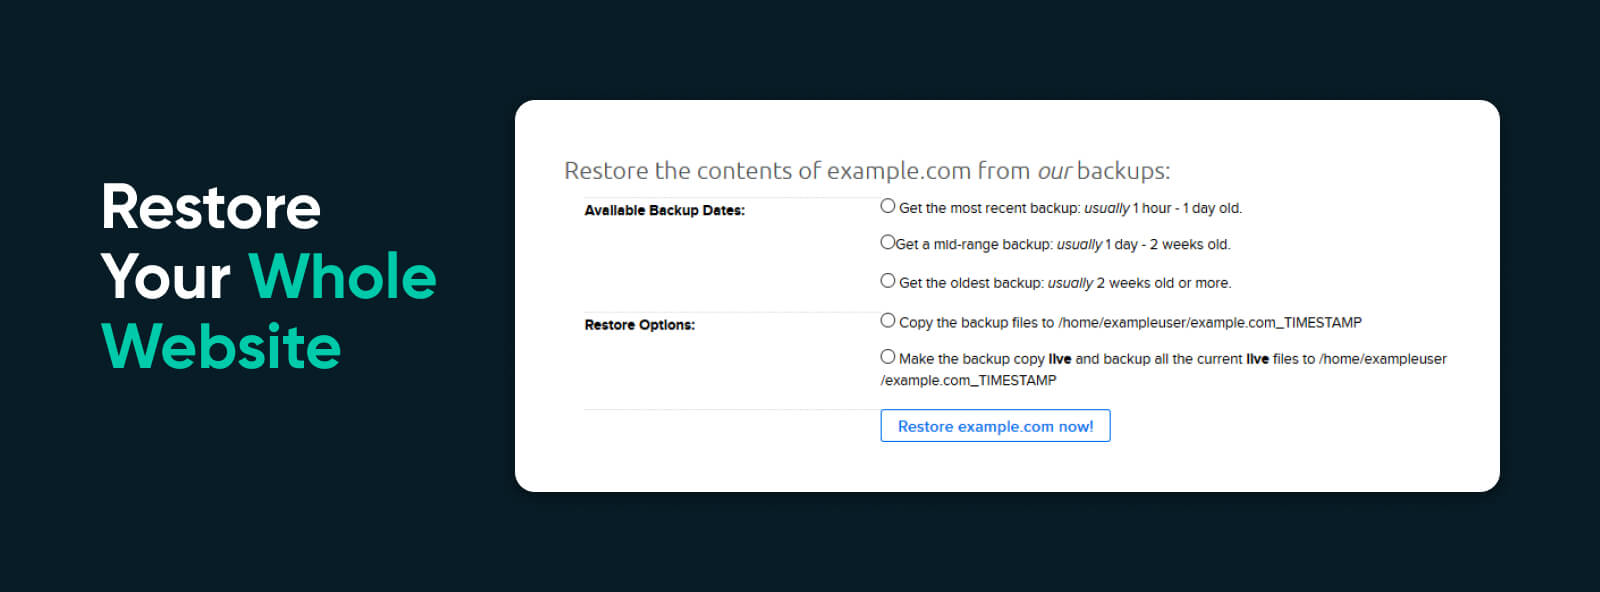
9) Restore Your Whole Website
Sometimes in life, you need to know when to accept defeat and, as the kids say “take the L”.
If you’ve tried other fixes and nothing seems to work, you might just need to restore your site to how it was before the client errors arrived.
When you host any website with DreamHost, we always recommend making regular backups and keeping a copy of those files offline. But we do keep daily backups of every website that is hosted on our servers.
Cloud Hosting
Traditional web hosting houses a website on a physical server. On the other hand, “cloud hosting” uses multiple virtual (remote) servers for the same task.
Read MoreThis means you can restore your website to how it was yesterday with a couple of clicks.
To achieve this, head to Hosted Domains, and click the Restore button on the right-hand side.
Then, choose how far you want to go back in time, and select the “Make backup copy live” option. This will replace your current live site with your chosen backup.
If you’re using DreamPress, you can complete the same process by visiting Managed WordPress and tapping the Manage button beside your domain.
Next, select the Backups tag and hit Restore on the archived version you want to use. Confirm with Start restore, and your site will soon be back to the way it was, without the 405 error.
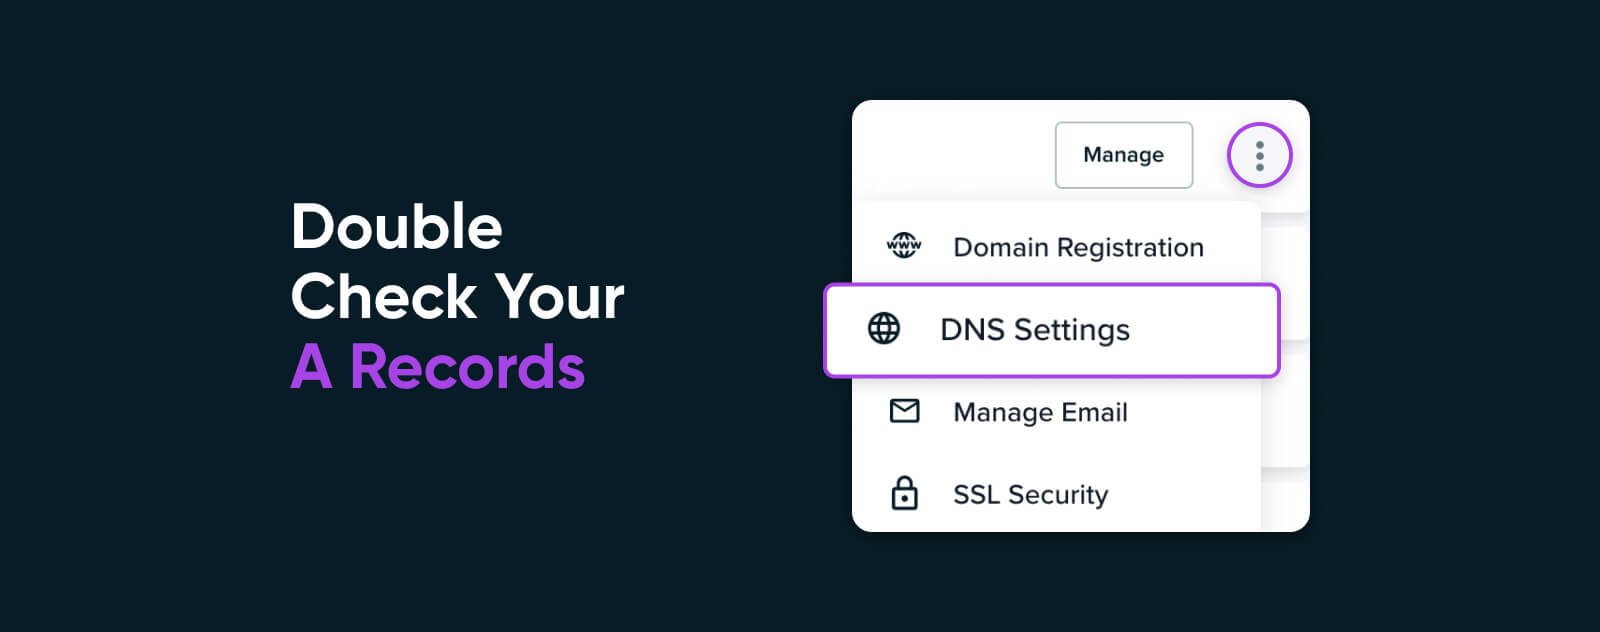
10) Double-Check Your A Records
One final tip: make sure the A records for your domain are configured correctly.
In some cases, you may see 405 errors if your A records are pointing towards the wrong server. For instance, a server that is set up for hosting your website might have different rules than one set up for hosting an API (Application Programming Interface).
If your domain is registered or managed via DreamHost, you can check your A records by visiting Manage Websites:
- Tap on the three dots
- Select DNS Settings from the menu
Bonus: Stop 405 Errors on Your API Calls
If your site relies on a connection with an external API, you might come across a 405 error because the API server is refusing your request. This is often down to incorrect request formatting.
To prevent this from happening, make sure to include a “Content-Type” header with your POST requests. Here are some examples:
- Java/PHP – Content-Type: application/json
- HTML – Content-Type: text/html; charset=UTF-8
- XML – Content-Type: application/xml
It’s also a good idea to include an “Accept” header:
- Java/PHP – Accept: application/json
- HTML – Accept: text/html
- XML – Accept: application/xml
Be sure to check API documentation, as well. You might find out that the type of request you’re making is not supported by the API. Likewise, your site or application logs may reveal the underlying problem here.
How to Stop the 405 Error From Returning
Working through all of the steps mentioned above is no small task. But if you’re willing to put in the effort, you should be able to banish all 405 errors that are showing up on your website or app.
Want to make sure you don’t go through the whole thing again? Here are a few key tips:
- Test your site – Whenever you install new plugins or themes, make sure to run some tests. If the change is going to cause 405 errors, it’s good to know early!
- Pay attention to authentication – Always keep an eye on who has access to what resources on your server.
- Help your users to troubleshoot – In the majority of cases, 405 errors are isolated to a specific user. Consider setting up custom error pages that include information about how users can fix the problem themselves.
With a little persistence, you can conquer the 405 error once and for all, and provide a seamless browsing experience for your visitors!
Get Content Delivered Straight to Your Inbox
Subscribe to our blog and receive great content just like this delivered straight to your inbox.